For a long time I've wanted to buy a makeup brush holder from Glitzy-Glam, but can't justify spending $18 plus shipping just for a (cute) glass jar that will hold my brushes. Recently I came across missglamorazzi's tutorial on YouTube for a do-it-yourself makeup brush holder, and I realized that a makeup brush holder could be within my budget! Here's what I did.
The Tutorial:
All I needed for the brush holder was:
1. An old Bath and Body Works 3-wick candle jar - my love of BBW candles came in handy!
2. Vase filler, which I bought for $2 from dollarama
3. A paint brush, which I already had from previous crafty projects
4. Glitter, which I bought for $1 from dollarama
5. Mod Podge - I bought the smallest, cheapest jar I could find at Walmart. I think it was 3-4 dollars.

The first thing I needed to do was clean up the candle jar. When I started it had a label, a burn mark, the ends of 3 wicks, and a bit of wax left in the bottom. Like this:

Here is how to clean up your candle jar:
Start by putting your candle in the freezer for a couple of hours. When you take the candle out of the freezer, take a butter knife and gently loosen the wax from the glass around the edges. Then stick the knife into the center (ish) of the wax and twist until the wax cracks. This part was a lot harder for me than missglamorazzi made it look. The wax did not want to crack! After a lot of playing around with the knife, I finally got it to crack and the pieces came out smoothly.


Now it's time to remove the wicks. Pour some hot water into the jar and swirl it around to melt the glue. You should then be able to easily remove the wicks. Next peel off the labels - the bottom one comes off easily with the knife, and the side one comes off easily just using your fingers. Then clean the jar to remove any extra glue or residue stuck on the glass. You can use nail polish remover to help with stubborn residue. Any burn marks on the glass should wash off easily. When you're done, it should look like this:

Take your mod podge and paint brush and paint a thin, even layer of mod podge all over the inside of the glass jar. The more even the mod podge, the more even the glitter will be.

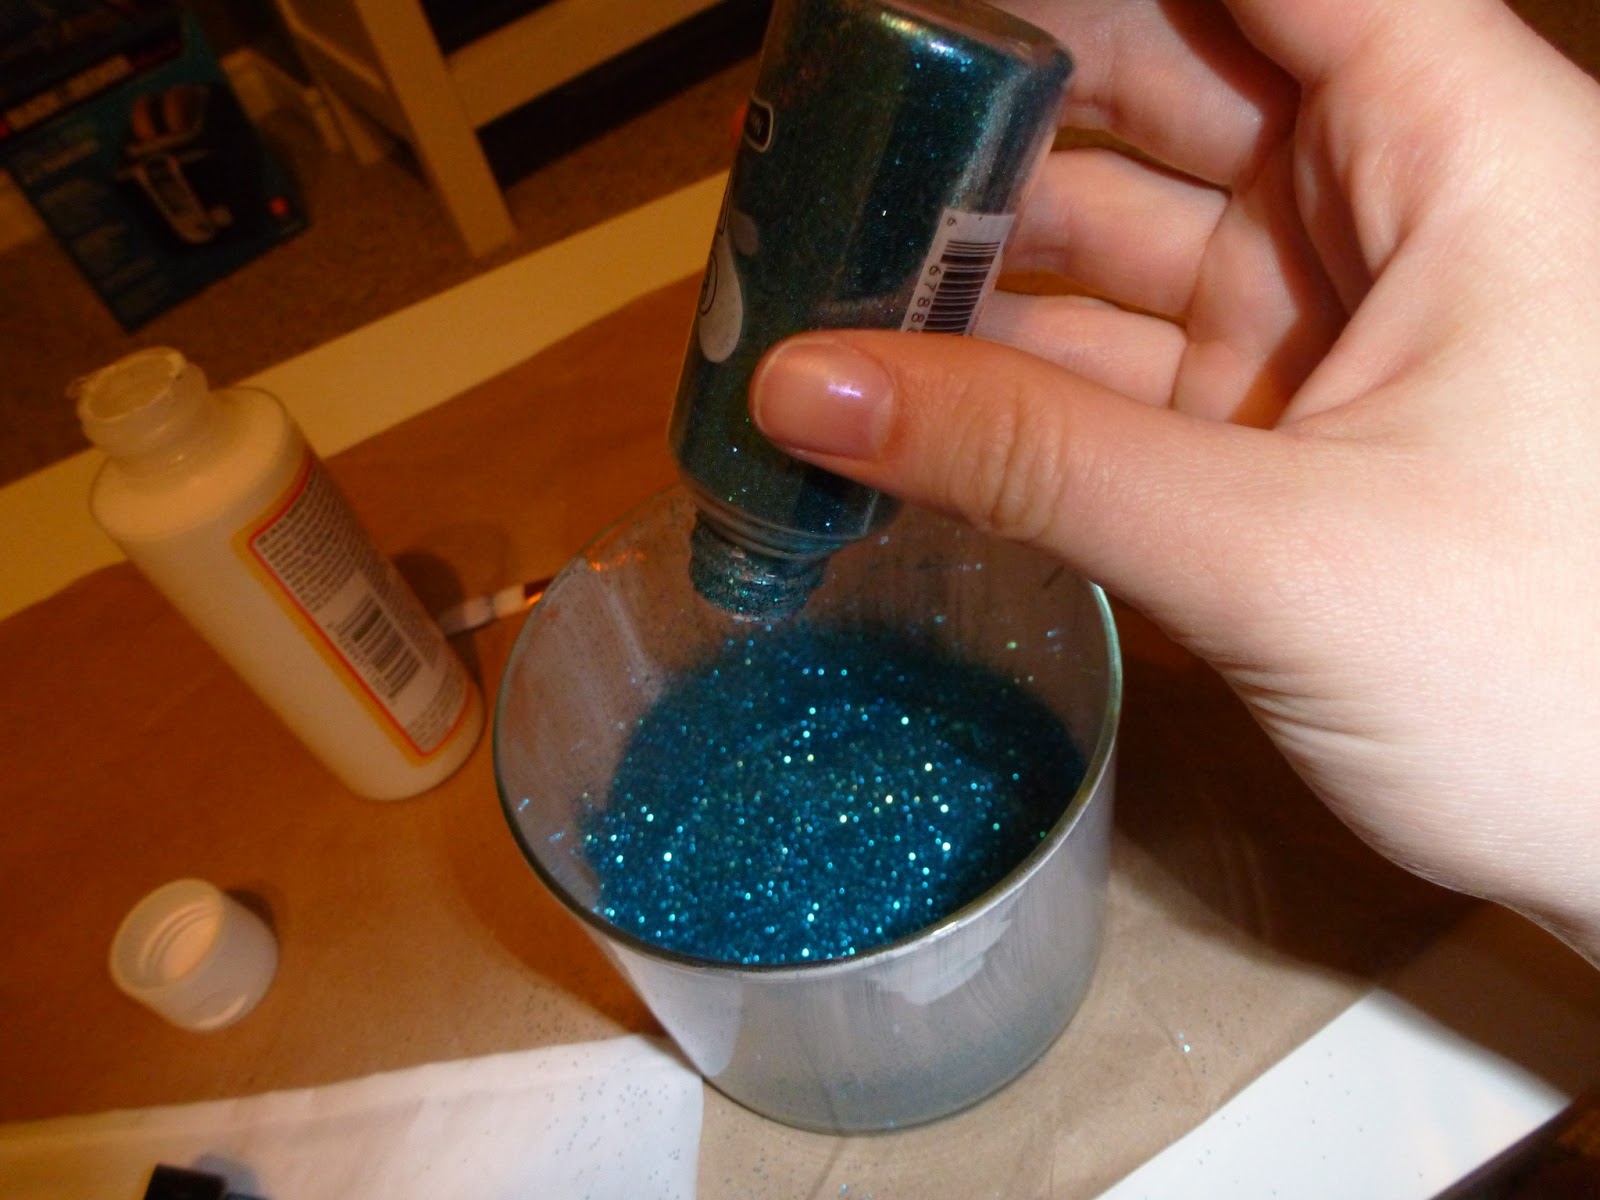
Then pour a lot of glitter into the jar. Tilt the jar around so that the glitter coats the entire surface. You'll want some scrap paper or newspaper underneath to catch any glitter that falls out.

As you can see, the glitter did not turn out perfectly even on the first try, but that's okay! I shook off as much excess glitter as I could and left the jar upside down over night to dry. In the morning I applied another coat of mod podge over top of the dry glitter. This had to be done carefully so that I wasn't pulling any glitter off. I then applied another layer of glitter and left it to dry. After the second coat it was all even!

Once the glitter has dried, it's time to finish up the makeup brush holder. Dump the vase filler into the jar and then you can stand your brushes in the vase filler.


My brush holder happened to fit perfectly beside my makeup organizer on my desk!

And that's it! A super inexpensive way to display your makeup brushes. I hope you enjoyed this tutorial!
-Mariah
No comments:
Post a Comment